Editor’s note –
This is a guest post from Rory Hinkel. When I saw this post on Twitter last week and asked if they’d be interested in sharing a how-to guest blog post. While I am already using some home automation stuff for my video recording, I don’t have anything connected to REAPER for it. So this was pretty interesting to me and Rory was happy to share.
Introduction
Thanks to GitHub user kubawolanin and their fantastic HomeAssistant integration for REAPER, HA-REAPER, we can now achieve incredible home automation within our studios.
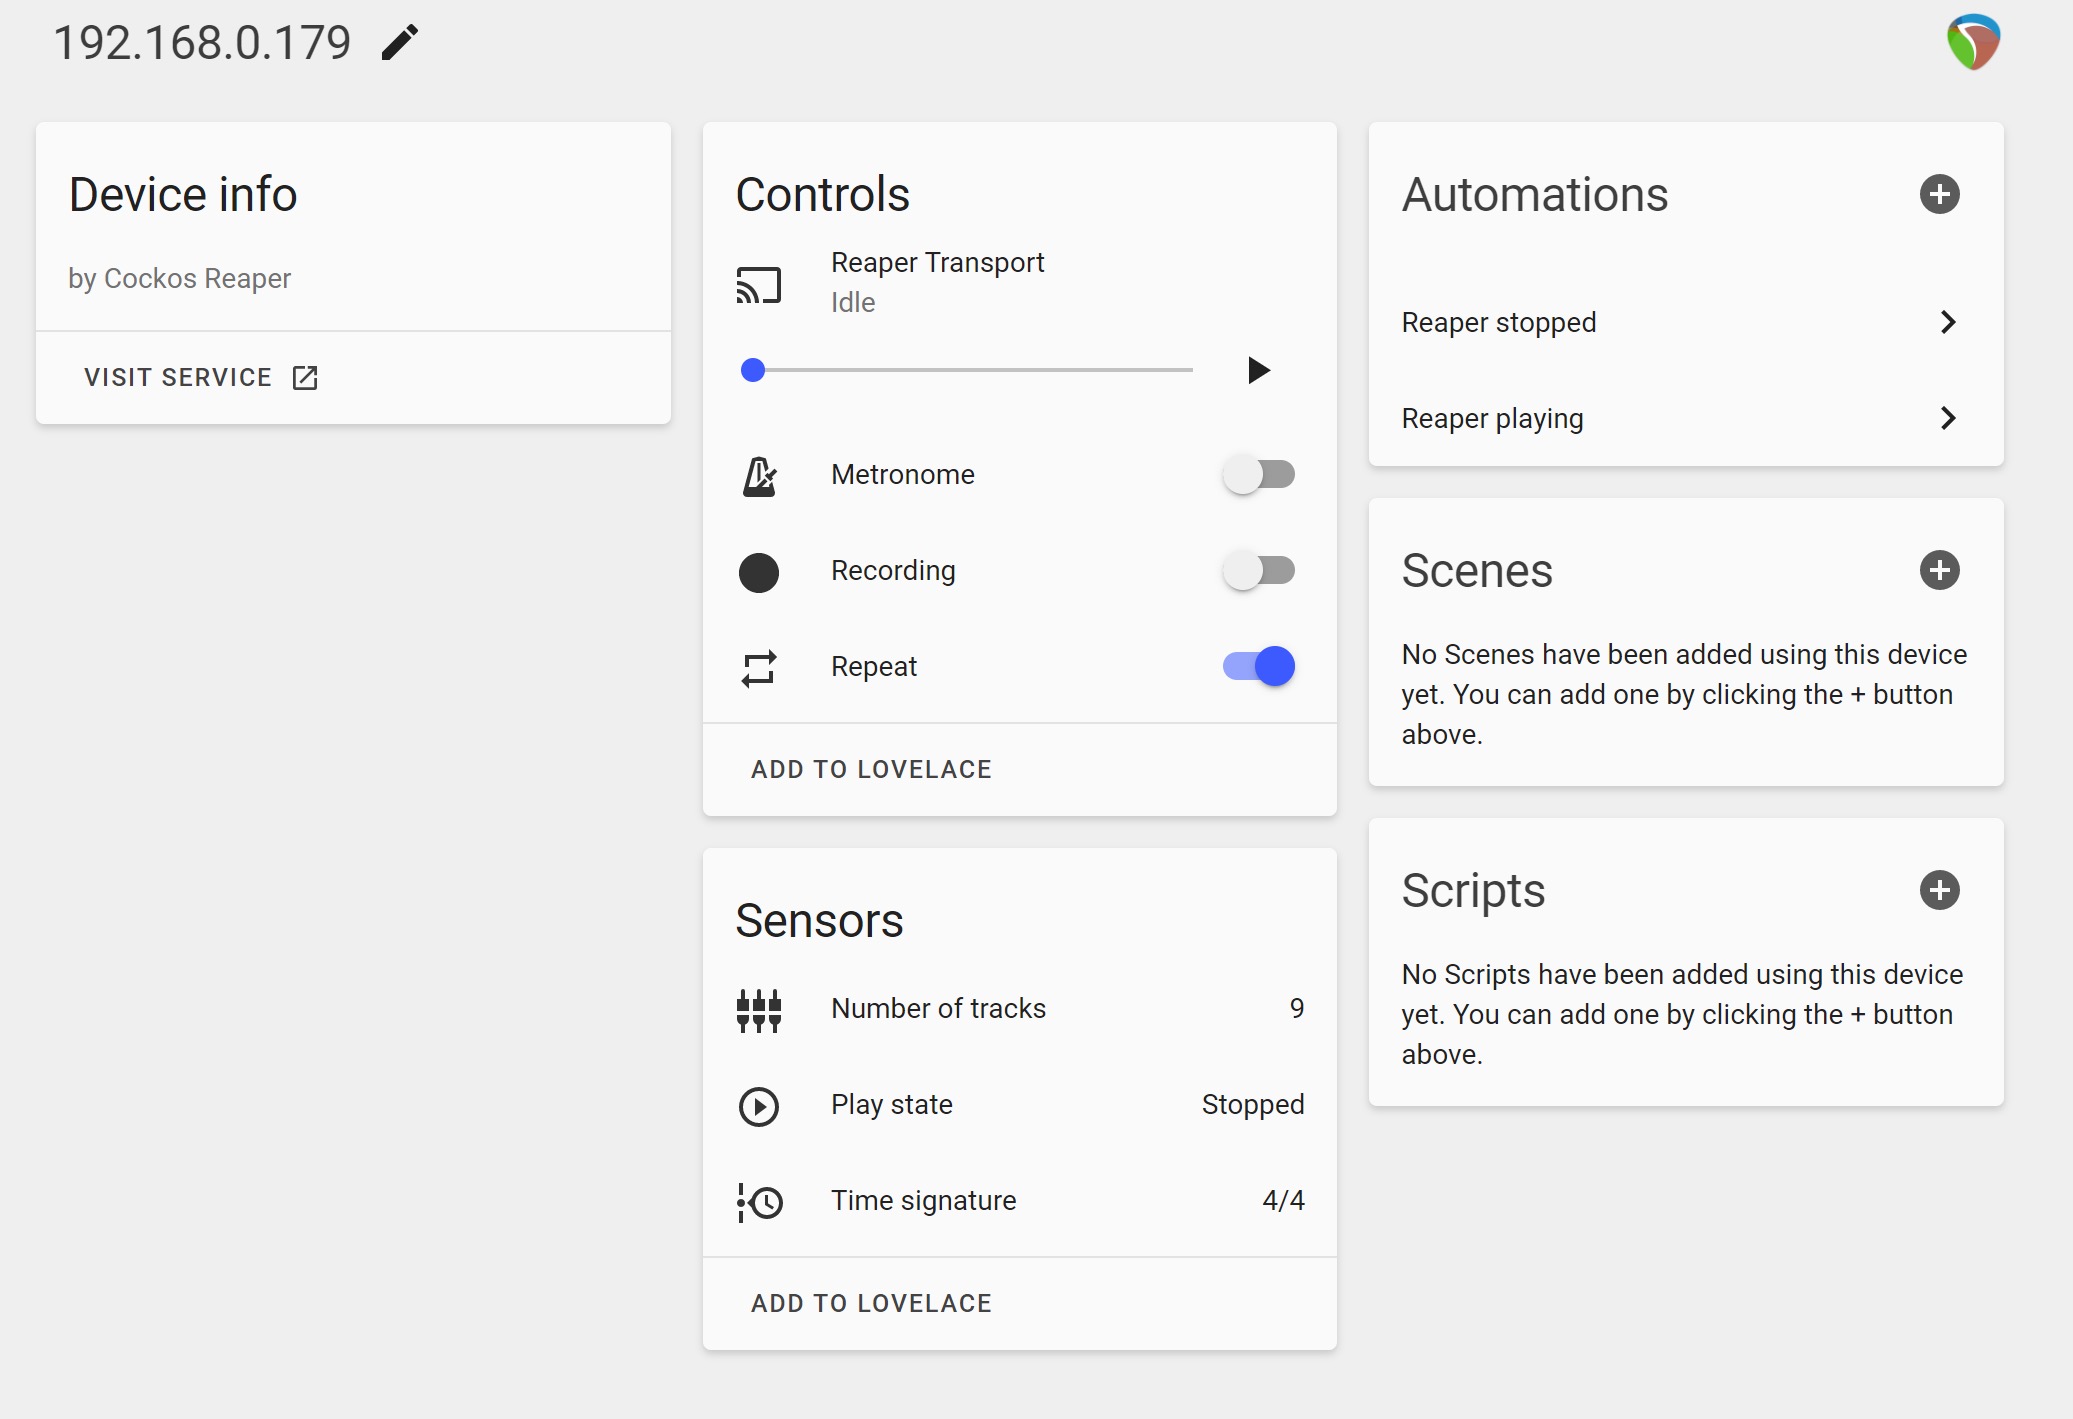
By leveraging REAPER’s native web browser interface, this integration offers a wide range of sensors and switches for monitoring and controlling REAPER. These include play/record states, full transport control, metronome and repeat functionality, total number of tracks, total number of armed tracks, undo/redo capabilities, and even a service for running actionlist commands.
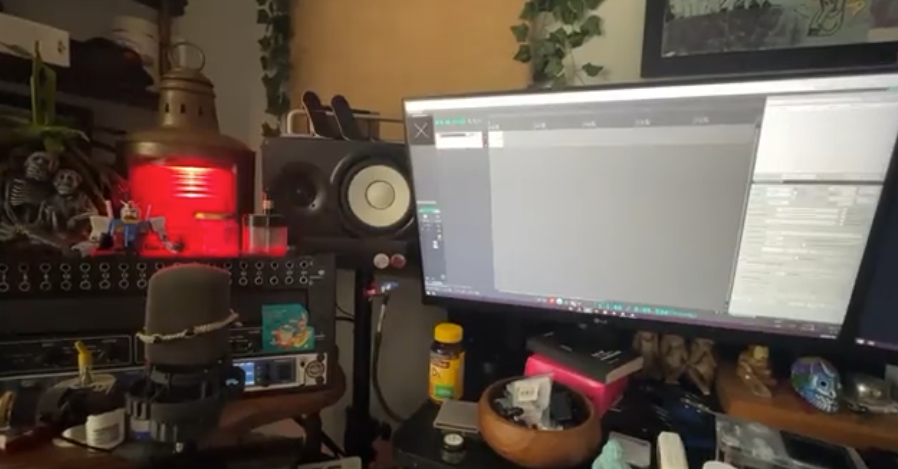
In this basic guide, I will cover the installation and configuration of the REAPER HomeAssistant integration, along with setting up a recording lamp. It is assumed that you have a basic HomeAssistant installation and at least one HomeAssistant compatible smart light. Many brands make smart bulbs that can convert any existing 120v lamp into a HomeAssistant compatible light, such as Phillips, Shelly, Tuya, Kasa and many more.
If you are new to HomeAssistant, I recommend checking out this page, as well as the HomeAssistant community on Reddit or Discord. HomeAssistant is an extremely flexible system and a great way to add automation to your studio. It doesn’t require a lot of resources to run, so you can use a Raspberry Pi or even an older laptop if you don’t have a dedicated home server.
Installation
To set up REAPER to allow control from HomeAssistant, follow these steps:
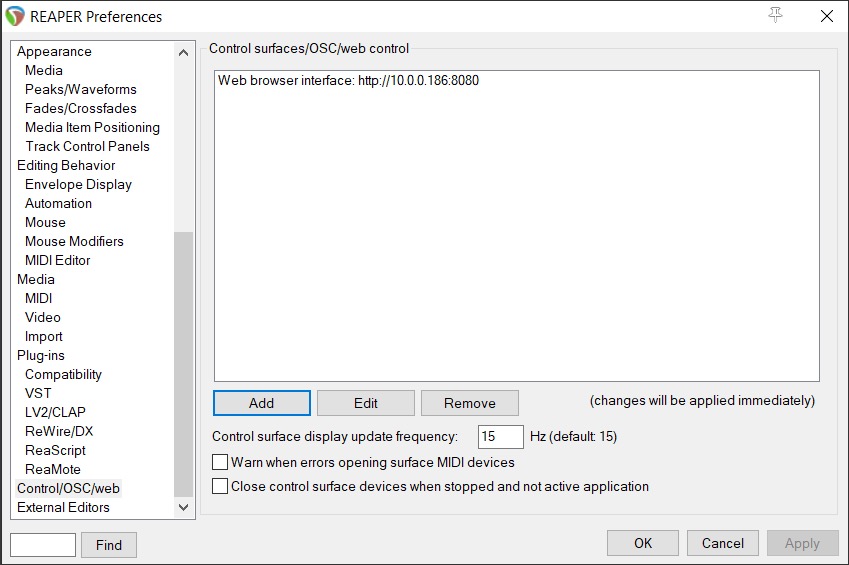
- Open the settings for REAPER and navigate to “Controls/OSC/Web/”.
- Click the “Add” button to create a new “web browser interface”.
- Optional – change the port and set a username and password.
Be sure to note down the IP address and port for later use.
HomeAssistant
Since HA-REAPER is a third-party integration, we need to use the Home Assistant Community Store to install it. Installing HACS is relatively straight-forward. It involves using and SSH plugin to execute a download script. To begin, check off these list of prerequisites and then follow the instructions here.
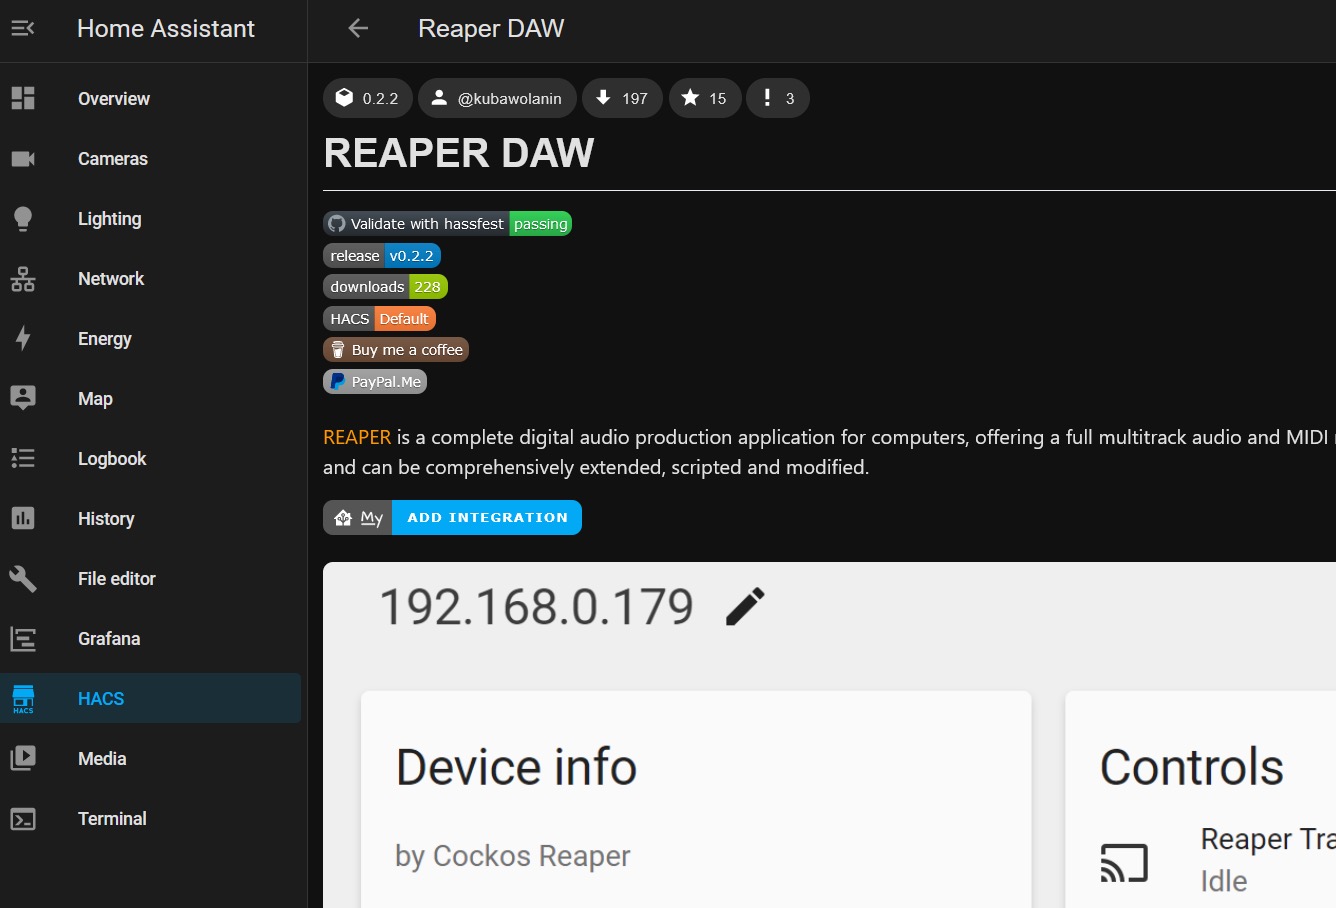
Once HACS has been successfully installed on your system, simply search “REAPER” from the Integrations section within HACS and you’ll find the plugin. The blue “Add Integration” button on the plugin page will install it on your system. It is recommended to restart HomeAssistant after successfully installing HA-REAPER.
Once HACS is successfully installed, you can install HA-REAPER by following these steps:
- Open HACS and search for “REAPER” in the Integrations section.
- Click the blue “Add Integration” button.
- After a successful installation, restart HomeAssistant.
Now that HA-REAPER is installed, proceed with the following steps to add our local device:
- Go to Settings > Device & Services.
- Click the “Add Integration” button in the bottom right corner.
- Search for the “Reaper DAW” plugin and select it.
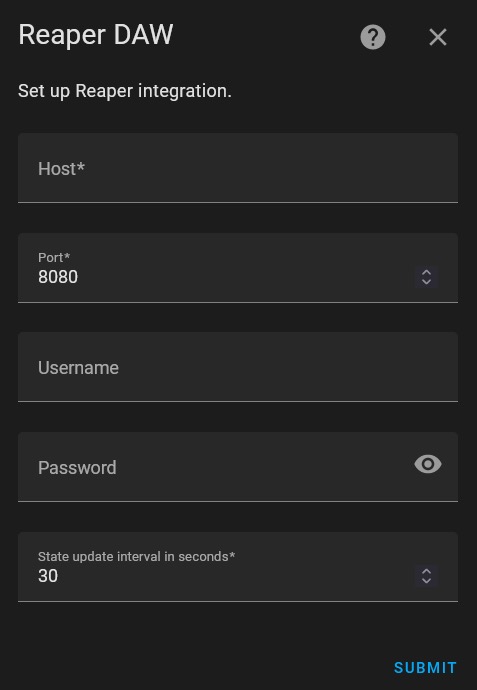
- During the setup process, provide the IP address, port, and the optional username/password from earlier.
It is highly recommended to adjust the “State update interval” to a lower setting than the default. This ensures that devices react quickly, so a setting of “1” is optimal.
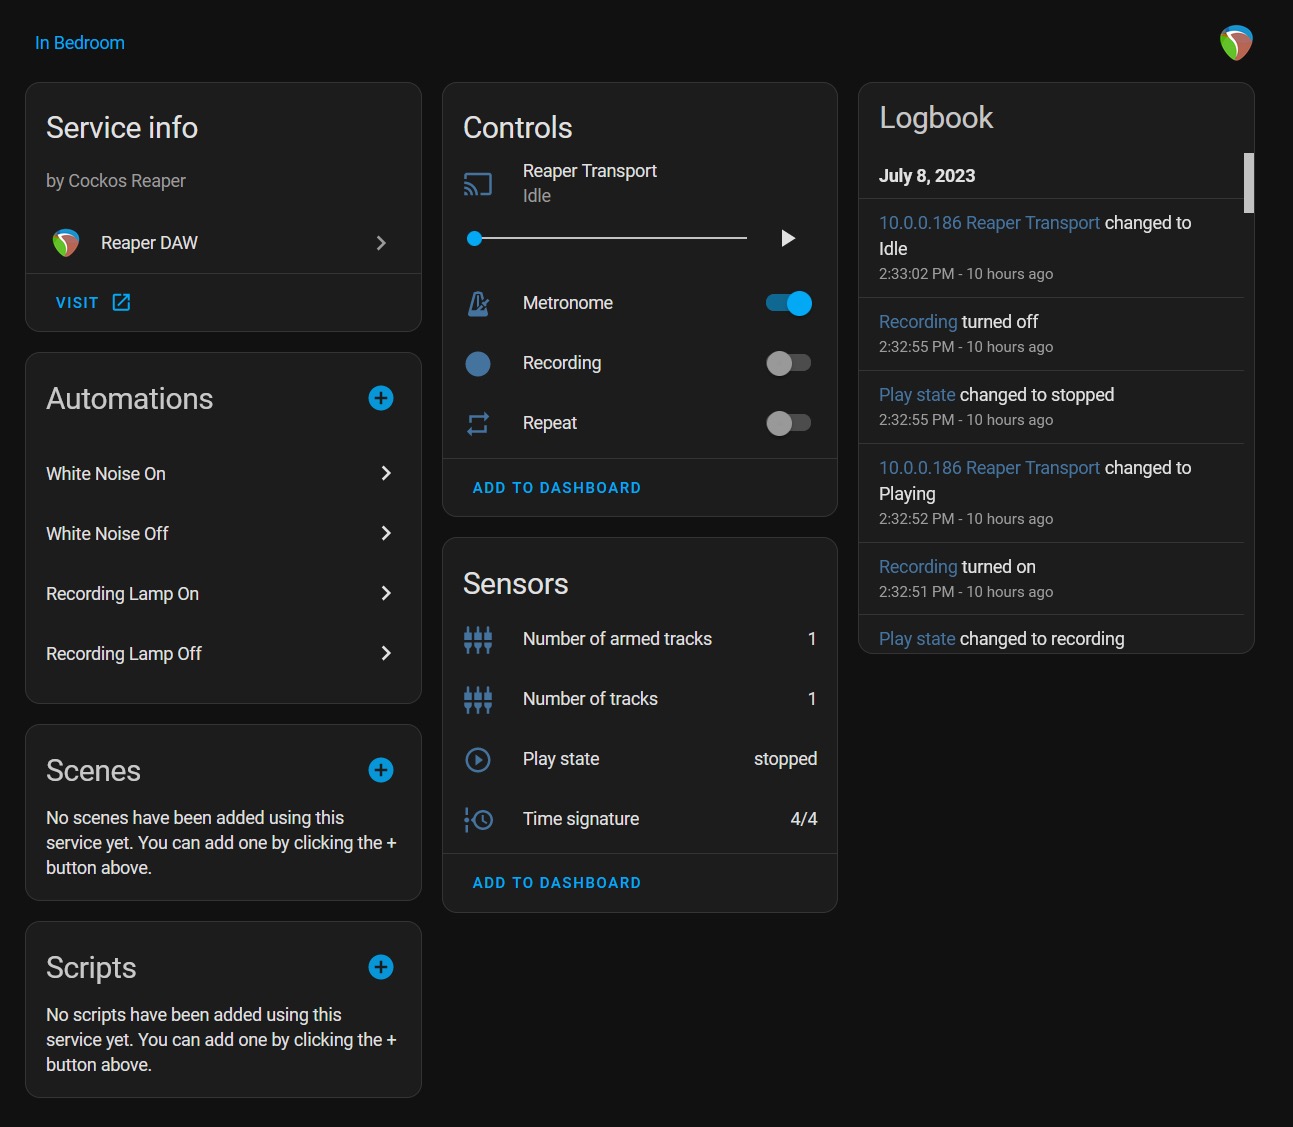
Once completed, the device should be added, and you will have access to the device page as shown below:
Configuration
Now we can add a new automation to trigger an action when recording is enabled. In our case, we’ll be turning on a lamp to signify that REAPER is recording.
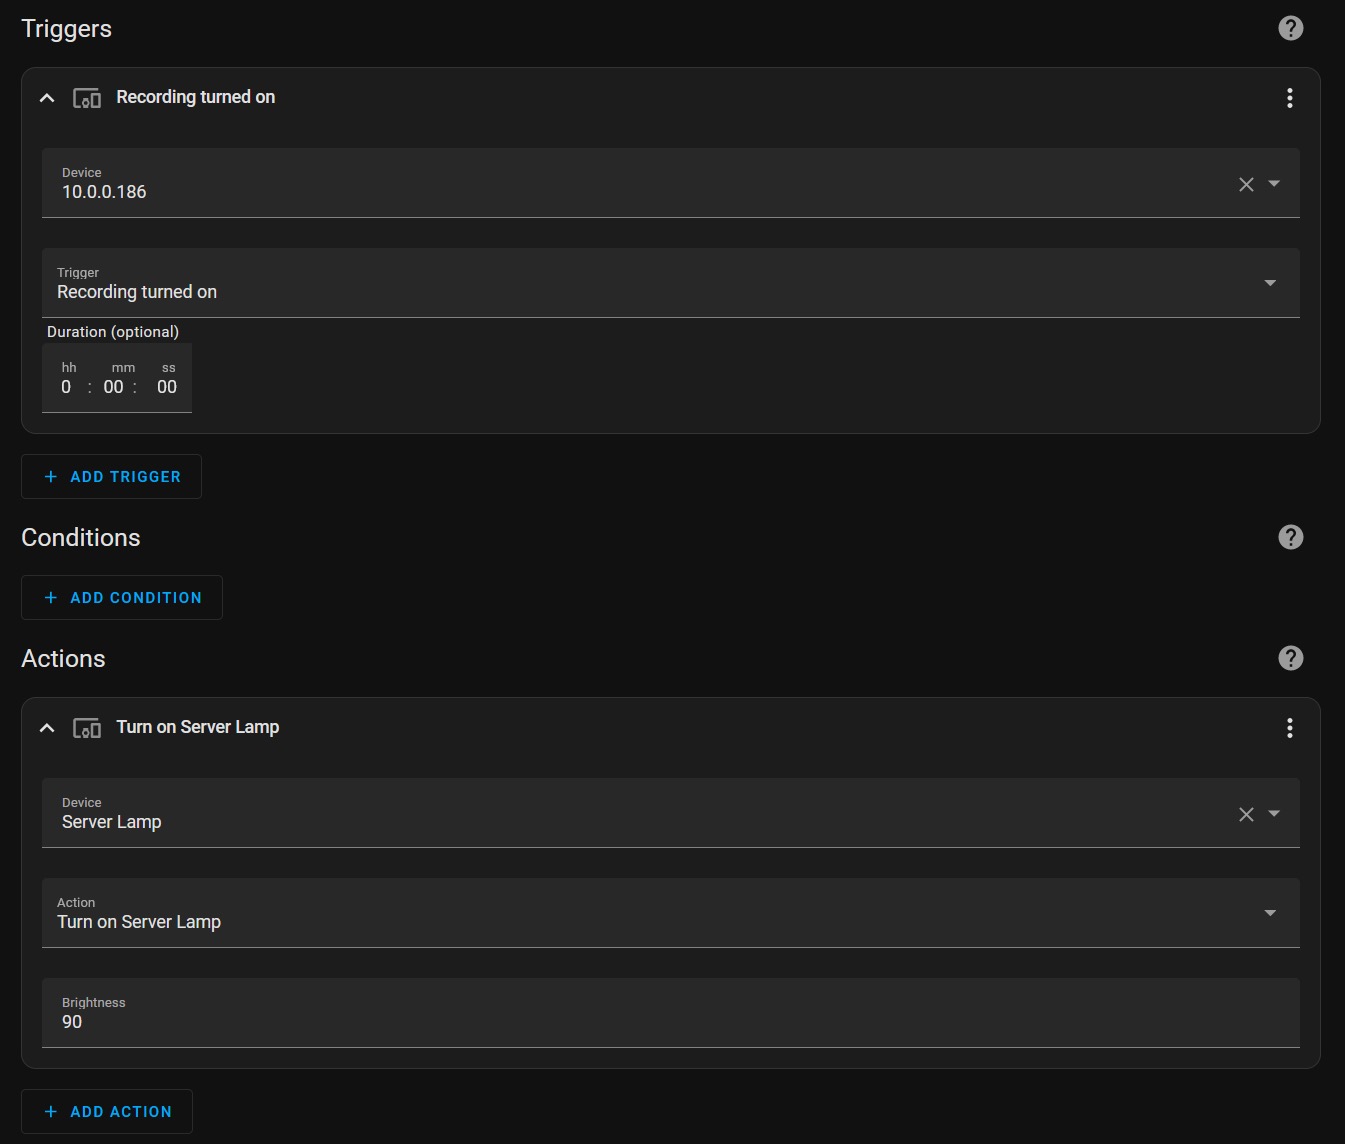
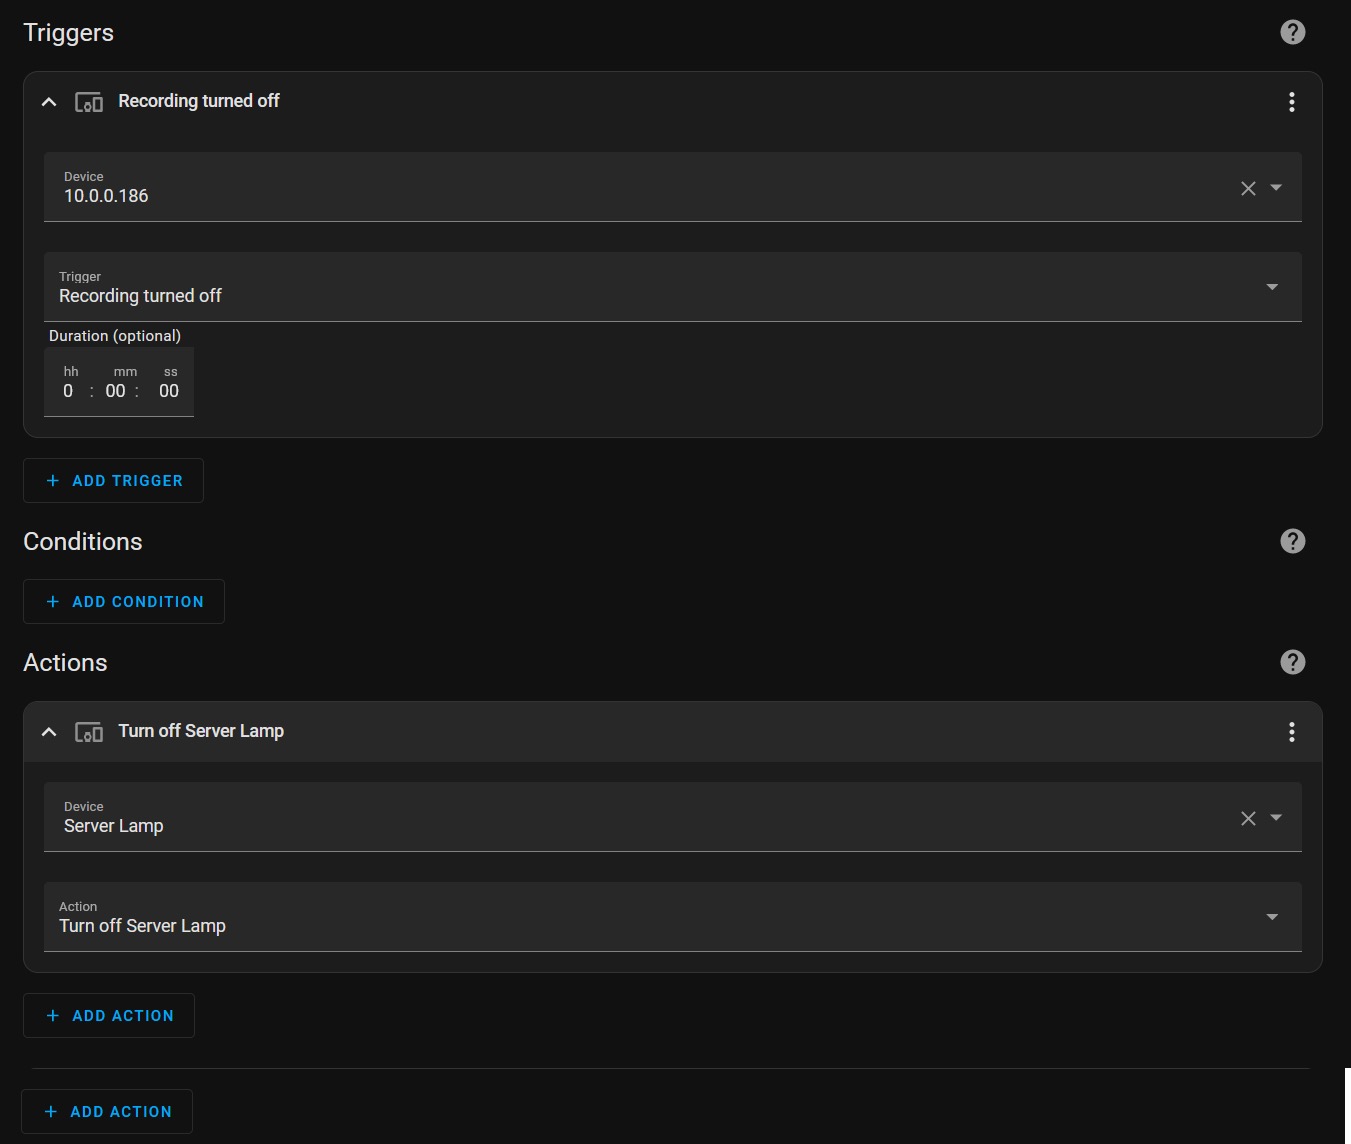
In my setup, I have a device called “Server Lamp.” So, whenever “Recording” is turned on, the “Server Lamp” is set to a brightness of 90. We will also create a new automation to turn off the lamp when “Recording” is turned off.
Further Automation
Depending on the number of smart devices in your studio, you can take the customization as far as you’d like.
For instance, in my current setup, I have a simple recording lamp and an automation to toggle my white noise machine while recording. However, you can go even further by temporarily turning off the air conditioning in your tracking room while recording to stifle the extra noise if you’re setup with a smart thermostat.
Final Thoughts
Overall, creating home and studio automation based around REAPER is extremely easy provided you have an existing HomeAssistant setup. Without an existing setup or the means to easily install one, it’s hard to say if the pay-off is worth it. With many appliances and devices now accommodating smart controls, it could be beneficial to consider working them into your setup.
Thanks Rory for sharing this tutorial with the REAPER community.
🦋 BlueSky – https://bsky.app/profile/reaper.blog
📘 Facebook Page – https://facebook.com/thereaperblog
🤷 Facebook Group – https://facebook.com/groups/reaperblogcommunity
👏 Patreon – https://patreon.com/thereaperblog
📷 Gear I use – https://kit.co/reaperblog