REAPER 101 is a series of short articles to help beginners get started with REAPER quickly.

In this article I will show you the most used elements of the REAPER interface. Click on any image to enlarge.
Further detail of each panel and window will come in future articles.
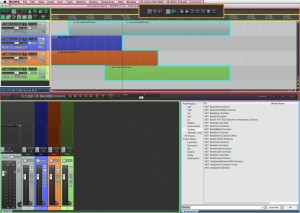
This image has all the various windows and sections highlighted in different colors.
At the very top is the menu bar. In addition to hundreds of commands and options the audio device status is displayed
The arrange window is where the recording and editing is done. Items in the arrange window have been highlighted.
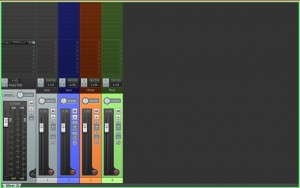
The mixer window aka MCP has been docked to the bottom of the arrange window, it can also be floating.
Above the Arrange window are the rulers marking time in bars + beats, and minutes + seconds
To the left of the rulers is the Main Toolbar. every toolbar and menu can be customized.
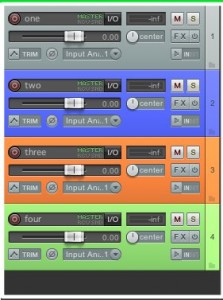
The Track Control Panel aka TCP has a set of controls for each track in the project for quick access without having to switch to the mixer window.
This is a floating custom toolbar, the buttons can be customized and the toolbar can be moved anywhere as needed
This little box at the bottom of the TCP is the Information Display, currently showing CPU load and RAM use and time since last save. Right-click for more options.
The Transport Bar displays the current project time, playback and record functions, playrate (slower/faster than normal) and edit selection info. This can be docked to top, middle or bottom or floating.
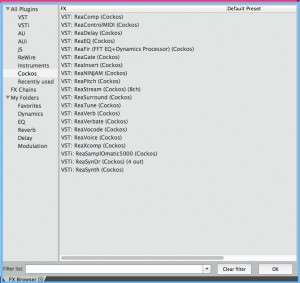
The normally floating FX Browser has been docked beside the mixer below the arrange window. Select your effects and drag to items or tracks.

Posted

in

,

by

Tags:

Comments

One response to “REAPER 101: REAPER Windows”

Discover more from The REAPER BLOG

Subscribe now to keep reading and get access to the full archive.

Continue reading