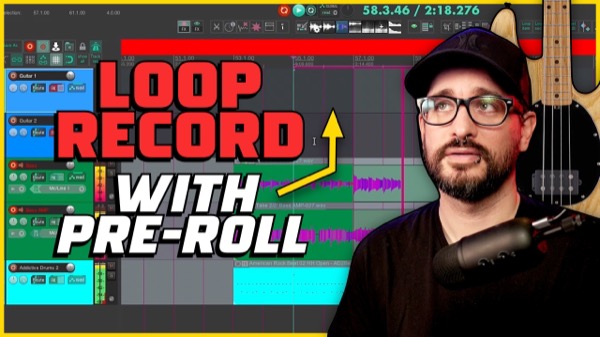
Pre-Roll is when you hear the project playing for a set time before the recording punch point. Normally REAPER will only use the pre-roll for the first lead-in to recording, so when looping there’s no pre-roll.
In this video I’ll show you 2 workarounds to include pre and/or post-roll to every loop recording so you can hear the part in context. No scripting or custom actions needed.
Option 1 – Time selection autopunch mode + unlinked loop points
By unlinking the loop points from the time selection you can make them each different lengths.
Set your time selection to where you want to punch in the recording, and set your loop points to include a few bars before the time selection.
Option 2 – Item selection autopunch + time/loop points and empty items if needed
By selecting an item in Item Selection Autopunch mode you can record new takes into an item. If you use a time or loop selection also, you can include pre-roll to your looping.
If there is no item to select in that section of the track, insert empty items (from insert menu) as placeholders.
More videos in this series about recording modes in REAPER
Recording with takes https://youtu.be/jI7irAvxzvs
Recording without takes https://youtu.be/V4TRbe5S9IQ
🐦 Twitter – https://twitter.com/reaperblog
📘 Facebook Page – https://facebook.com/thereaperblog
🤷 Facebook Group – https://facebook.com/groups/reaperblogcommunity
👏 Patreon – https://patreon.com/thereaperblog
👕 Merch Store – https://reaperblog.net/merch

