
If you just got a new Mac computer, or never installed REAPER before this guide is for you!
MacOS has security features to get through for installing apps and extensions that haven’t come from the App Store. Don’t worry I’ll show you how.
MacOS 13 Ventura was released back in October but every company warned not to update yet. And we’re still waiting for the go ahead.
I updated my Mac Studio to Ventura and surprisingly, nothing broke. If your reaper was already installed and you did all the security steps it should be business as usual for you.
00:00 - Intro
00:52 - getting the downloads
02:28 - Installing Reaper
03:50 - REAPER resources folder
04:12 - Install SWS
04:35 - Resolving security warnings
06:08 - ReaPack install, same thing
07:12 - More Mac permissions are required
Download REAPER and extensions
First download the installers or extensions for your system.
Use the “Universal” installer for REAPER if you are have an ARM64 (Apple M1/M2) processor. The universal installer also runs on Intel processors, and can can be “Opened in Rosetta” for compatibility with older, non ARM64 optimized plugins. See note below about Rosetta.
Download SWS Beta (best version right now)
Video about latest SWS beta changes
Note about Rosetta – If you plan to use older FX requiring REAPER to run in Rosetta, you will also need to install the Intel builds of SWS and ReaPack.
Install REAPER
These are the instructions for a standard REAPER install. Click here for a portable install.
Double-click to mount the REAPER installer disk image.
Drag and drop REAPER.app to the Applications folder
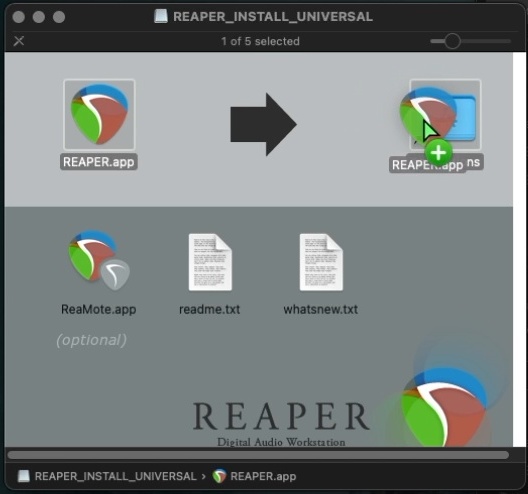
Once transfer is complete you can close the installer window.
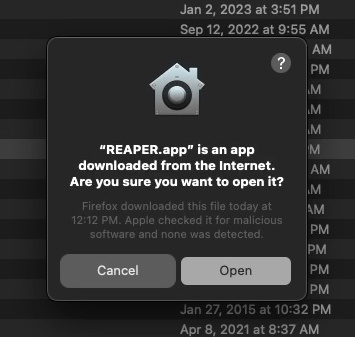
Open the Applications folder and find REAPER.app, Right-click, Open.
At this point it is expected to see a pop up, click open.
“REAPER.app” is an app downloaded from the Internet. Are you sure you want to open it?
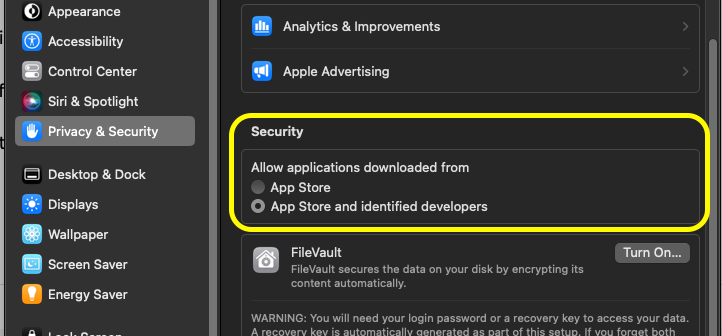
If your pop up does not allow you to open, go to System Settings, Privacy & Security, and change the setting to allow applications downloaded from App Store and identified developers.
Install Extensions
SWS and ReaPack are installed in basically the same way. Go slow and only do 1 extension at a time.
First Open REAPER, go to Options Menu. Choose “Open REAPER resource path in explorer/finder“
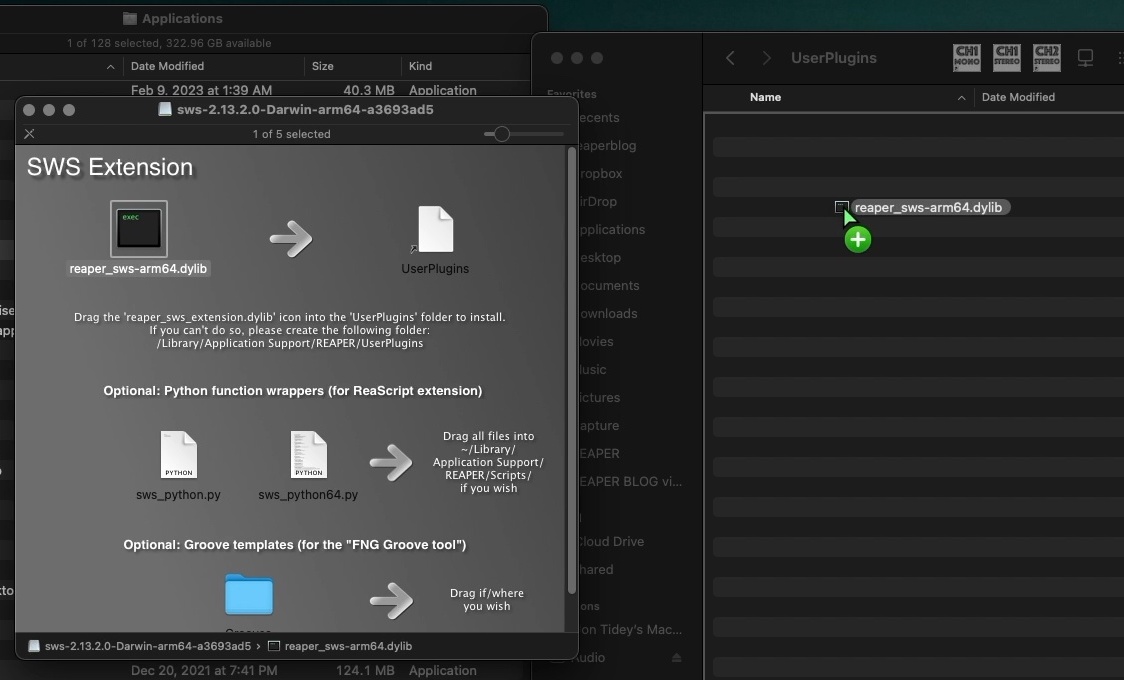
This will open REAPER’s folder containing all configuration files. Find and open the UserPlugins folder.
Now Quit REAPER.
Double-click to open the SWS install disk image.
Drag reaper_sws-arm64.dylib to the user plugins folder
Return to the Applications folder
Right-click (or control-click) on REAPER and Open.
At this point you should see another security pop up blocking the extension.
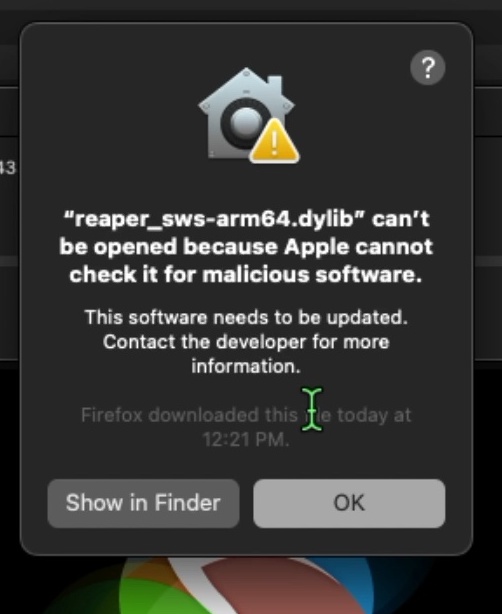
Open System Settings, Security & Privacy. Scroll down to find:
“reaper_sws-arm64-dylib” was blocked from use because it is not from an identified developer.
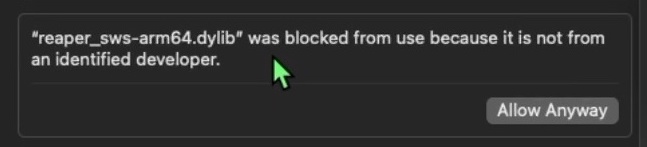
Click Allow Anyway and enter your admin password in the popup.
You may need to click both OK and Allow Anyway a couple times until they go away.
Then restart REAPER to confirm SWS is installed.
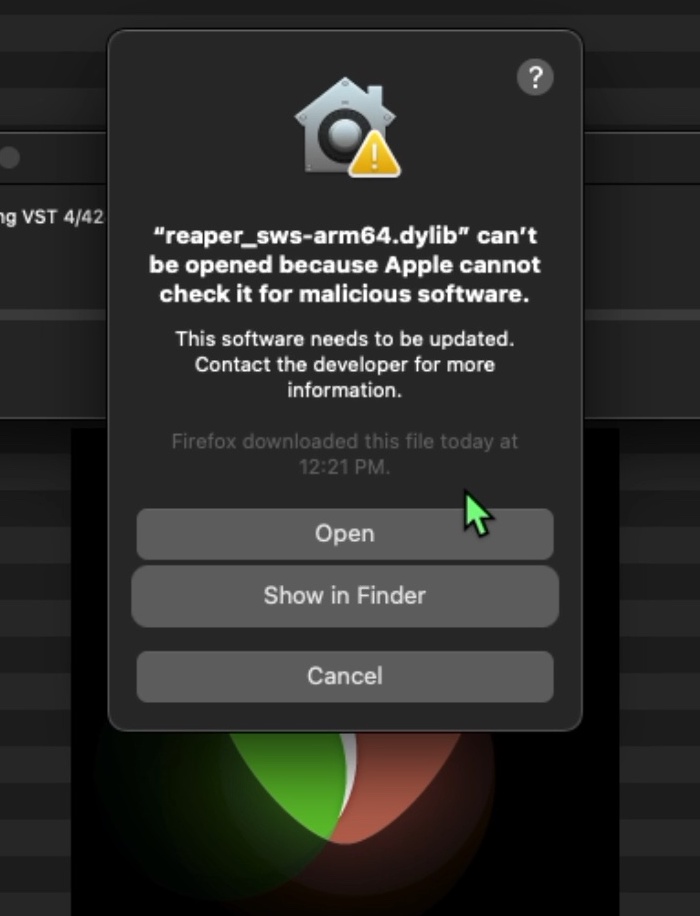
Again you should Right-Click, Open on REAPER.app
This time you should get a slightly different popup. Click Open
In REAPER you should now see the main Extensions menu.
Now repeat the steps for reaper_reapack-arm64.dylib
Once you get through all this you can add REAPER to the dock and open normally.
For tips on how to set up and use REAPER in an optimized way, check out my Fresh Start series.
Comments
One response to “REAPER on MacOS 13 Ventura Install Guide including Extensions”
Excellent instructions. As a new user to Reaper, I love the community with its open source spirit of good communication and preparedness to assist others in making heir music path as smooth as possible.
Thank You to ALL who have freely given of their talent !